Tuesday, October 26, 2010

Fall trees

The children love this lesson. We discuss trees and how to draw them. Then discuss the background. Students draw a tree and fill in the entire background, no empty white space. We then use ONE finger to create all our leaves for the tree by painting fall colors with our fingerprints. We talk about the brown leaves ending up on the ground. It doesn't take much in the way of supplies but the results are always good. Hard to believe these two were made by first graders.
 

Wednesday, October 20, 2010

Funny Faces


I do this with my kindergarten classes. They tear pieces of scrap paper to make a face. Then they use old medicine bottles, cardboard, etc. dipped in black paint to add details to their funny face.

Fall Symmetry


Students receive one sheet of 9x12 paper and a half sheet of a different color. Students draw half of their image on the half sheet of paper. After cutting out their image and saving all of the pieces, they glue it to the full sheet of paper.

Leaf Sun Catcher


Students trace a template of a leaf two times on brown paper. Both leaves are cut out. A square of wax paper is glued to one leaf and then the student takes pieces of fall colored tissue paper and glues them to the wax paper. A second square of wax paper is put on top. The students then line up the second leaf and glue it to the other leaf. (I tell my students it is kind of like making a sandwich where the leaves are the bread, the wax paper is the mayo, and the tissue paper is the ham)

Explorer Ship


When my third graders are studying explorers, we make a ship. We start by using tempera cakes to paint a 9x12 sheet of paper greens and blues. Then we use crayons or oil pastels to color a second sheet in warm colors. The following week, the blue paper is torn and glued to the warm colored paper to make the ocean. The torn parts are white so if they are glued so the white is at the top, it looks like waves. Lastly, the students draw a ship on brown paper and some sails on white paper. The ship is glued to the ocean scene.

Tuesday, October 19, 2010

Super Artist!


It's a bird.
It's a plane.
It's SUPER ARTIST!

We had a Super Hero Bookfair Night, and all the teachers dressed up as super heroes.


If anyone needs an artist super hero costume... :)

More Fundraiser


Fifth grade used chameleons for their inspiration for the square 1 fundraiser project. We talked about chameleons, read a book about them and then drew one together. They were then urged to give their chameleon a personality of its own. Each one should look different from the rest. We added patterns and bright colors to our designs. They came out GREAT! I loved them,
and so did the kids!


Square 1 Fundraiser

One of the schools where I teach does the Square 1 fundraiser. I thought I would post a few ideas that I used this year with the classes. In third grade we did cats using the art of Laurel Burch. The students enjoyed looking at her work and discussing the cats. We then created cats of our own. I emphasized using lots of patterns in their designs. I thought they came out great! I think you could do the cats with any grade leve and still have success.

Monday, October 18, 2010

Leaf Prints


I like to do this leaf printing project in the fall. I ask students to bring in leaves and I bring in some from home. We classify each leaf. With third graders, I talk about mixing the paint right on the leaf to get intermediate colors. I use tempera paint cakes and tell my students to keep the paint on the dry side. Paint the side of the leaf with the veins, turn the painted leaf over onto paper and rub with a paper towel to get a good print. Lift the leaf off.

Friday, October 15, 2010

Fall Leaves


I did this project with 3rd grade. We made leaves with marker outlines and veins, and then used water to make the marker "bleed" (the cheaper the paper the better it works).

Fall Trees


Here are the fall trees I shared at the meeting. I do this with 2nd grade, and it is a 3 day project.

Day 1 - paint the sunset background (we talk about mixing the primary colors)

Day 2 - paint the tree and add highlights and shadows with black and white

Day 3 - Add the leaves using crayons and texture plates


They make the hall look nice and bright!

Thursday, October 14, 2010

Warm and Cool Colors

Warm and Cool Leaves

I do this lesson with third graders after reviewing warm and cool colors. They use leaf tracers and outline them with black Sharpie and make veins in their leaves. The leaves in their drawing have to be warm colors and the background has to be cool colors. (this example shows some warm spots in the background but in person it doesn't look that way!) Students use oil pastels for this and the artwork always turns out vivid and stunning!

Fall Trees


Fall Trees
I do this lesson with my first graders. First we use tempera cakes to paint a sky and grass landscape on a 9x12 piece of white paper. Students get a second piece of paper (it can be 6x9 or smaller) and on this paper they are instructed to paint it reds, yellows and oranges. The second week, the students cut out a tree trunk from brown paper and I tell them it can't be a straight rectangle. (This example actually had a nice Y shape at the top but it got covered with her leaves.) After the trunk is glued to the paper, they cut up their red/orange paper for leaves.

Origami Owls


Origami Owls
We have talked so much about origami owls, I decided to give it a try with kindergarten. We folded the owls together (some of course turned out better than others) The students then folded the corners for ears and slit the bottom for feathers. Eyes and a beak were cut from scraps. We discussed and read Good-Night Owl. A tree was ripped from gray paper, a moon was cut, stars were drawn and voila!

Neon Faces- Printing

This is a really cool printing lesson. It may be done with any subject, but for the last 4 years, I have used faces. I think it gives a strong , personal  feel to the finished project. Students select a face to draw.I have about 45-50 faces from newspapers& magazines to choose from) Draw just the face onto a 6''x8'' piece of thin paper and tape it to a 6''x8'' piece of styrofoam. Gently go over the lines, remove the paper and go over the lines again. Remind them not to write their name on the front of their styrofoam as it will print backwards.
I have them each print 4 copies, which we then let dry and tape together. Presto--instant Andy Warhol.

Landscape Shades& Tints Landscapes


This is a shades and tints painting lesson for fifth graders. Students will draw layers of ground and mountains, plus one tree and one sun, onto a 12'' sq. piece of bogus paper. Outline with black sharpies. Define the terms ''shades'' and ''tints'', go over your painting rules, have students pick 2 colors, and start painting.. I have the class begin at the bottom and work their way up---leave the sky for last. When everything is painted, let dry overnight and redraw the black lines- this time adding hatching and texture lines.This always turns out well, and as they have to actually mix the shades and tints , it plants the information in their brains.


Monday, October 11, 2010

Abstract Birds


I did this activity with fourth grade. We used sharpie to draw and markers to add color. It took about 2 sessions, with a few students still working into a third week. Our goal was to create an abstract bird while exploring variety, repitition and unity.


Williamsburg Drawings


This is a project that I do with my 4th graders when they are studying Williamsburg Virginia in the classrooms. I print off one or two inch grids on drawing paper. (I have had them draw their own grids before, but have found it to be too time consuming.) I give them print outs of real people from Williamsburg history that had assorted jobs in the community. They sketch their person with the assistance of the grid for proportion. This hits many of our art SOLs for 4th grade drawing while connecting to their social studies SOLs.
We use light and dark drawing pencils, gum erasers and blending sticks. When they are finished they use gel markers to create a colorful patterned background. The black and white drawing looks great with a colorful background. The kids really like this project.

Friday, October 8, 2010

Apple Basket Weaving


I did this activity with second grade. They got a strip of brown paper and had to mark with a ruler the lines for the basket. After cutting their lines, they were ready to weave. When the basket was finished, they cut the corners off the bottom of the basket to make it rounded. The basket was glued to a piece of 12x18 white paper. At first I used real apples and paint, but it didn't work out so well so I eventually had the students use crayons to draw their apples. You could also use tracers or have them cut apples out of construction paper. Note: the weaving takes longer than expected!!!

Fall Pumpkins

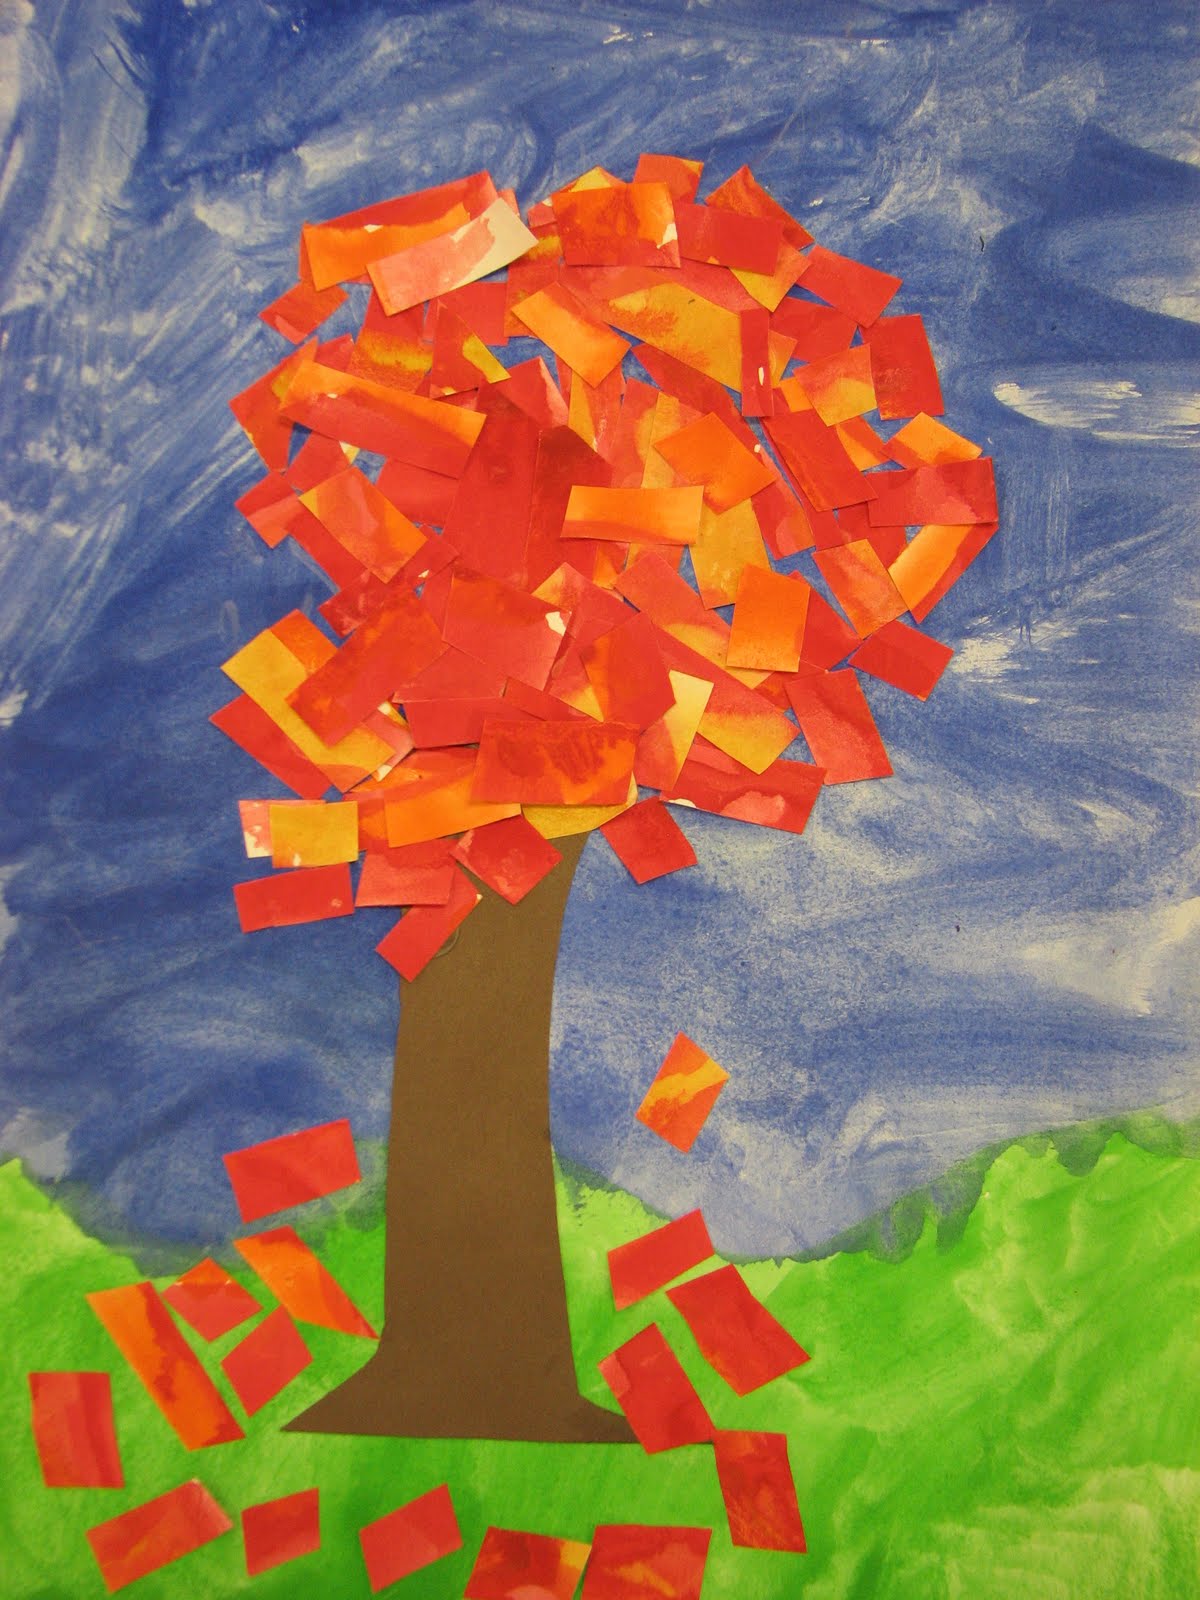
I did this activity with kindergarten. I prepared some brown paper strips so the students could make a fence out of them. I showed the students how to cut the corners off of a rectangle shape to make a circular or oval shape for their pumpkins. They glued their pumpkins to their paper and decorated their papers with construction paper crayons. We finished up with a bit of glitter in the sky.

Fall Leaves


Second Graders traced leaves on manila paper. Then they took chalk pastels and put color around the edges. Placing the leaf on their white paper, a tissue was used to remove the pastel. A leaf outline is left on the white paper. After overlapping and doing this procedure several times, the students drew veins on their leaves they traced and glue them somewhere on their paper.

Tuesday, October 5, 2010

Banyan Tree


This is a project that I recently did with my fourth grade classes. Black tempera painted Banyan Tree with oil pastel sky to show cast shadow and reflected light. We drew and painted the trees in part of one class session and took two days to add the oil pastel, activating the negative space.

Season Wheels...

Second grade was busy making season wheels. We talked about the seasons, what they looked like, what they felt like, and things you could do during that season. They then drew one specific tree in each section of the wheel. They went on to make each tree look as it would in each of the four seasons. We attached the wheel to a piece of paper with a paper fastener.

Monday, October 4, 2010

Landscape of a Virginia Region


I love this project. Fourth graders paint a landscape of one of the Virginia Regions. We use tempera paint cakes first to paint the sky, ground, land forms, rivers etc. We talk about using tints and shades for different values of colors. We review background, middle ground, and foreground. We add details with oil pastels the next week.

Pueblo Petroglyphs


I do this project with Fifth Grade classes. We talk about the Pueblo Indians who were "Cliff Dwellers". We draw a horizontal line for the "cliff" or a Pueblo home, cut along the line, and then use it as a stencil for chalk rubbing. We then add ancient petroglyph symbols with sharpies.