Monday, November 28, 2011
Fall Trees
This is a project that I used to do every year. I found my sample and decided to do them this year. I was so happy I made that decision, they came out beautiful. I did them with fourth grade. We made the tissue paper collage background one week, and then added the tree with oil pastels the next. We were able to review our shading to make things look three dimensional.
Labels:
collage,
Fourth Grade,
shading,
tissue paper,
Trees
Wednesday, November 9, 2011
Birds of a Feather
This is an excellent lesson for those who wish to cover the Art SOL's and the schools' language arts requirements. Second grade students will fill an entire 12''x 18'' paper with a varity of lines;zig-zag,curved, slanted, broken,wavy, dotted...any kind of line imagined. Any left over space may be filled in with dots and dashes. This will take one class period. Next class, students will draw ON THE BACK OF THE PAPER a large figure "8" --from top to bottom--this will be the body of the bird. ( .....make the neck of the bird a little thicker than it is.) On the rest of the paper, use feather patterns---made ahead of time ---to trace 14/15 feathers. Glue the body of the bird to the middle of a constrasting color 12''x18'' paper. You --the teacher--draw the top line of the wings while the class cuts out the feathers. The class puts glue onto each ''wing'', and glues the feathers down. Add tail feathers, google eyes, feet, and a paper beak. Instant bird!
This lesson may be used with a varity of books,...just check out your library.
Tuesday, November 8, 2011
Quick Clay Owls
Quick Clay Owls
This could be done with K 1 or 2 after reading Owl Moon or a similar owl book.
This is from the blog 4 Crazy Kings:
Start with a ball (any clay will work)
Smoosh to make circle
Use marker cap to make UUUUUU's on belly
Fold sides in
Fold top down - pinch ears a bit
Use marker cap to make eyes
Use butter knife or similar to make beak -
Finally you can play with a bit by smooshing sides a bit to make owl more round.
Fire and glaze. (You could also use oil pastels/crayon and ink instead of glaze.(See OZ KIDZ ARTZ)
Labels:
clay,
First Grade,
Kindergarten,
owls,
Second Grade
Thursday, October 20, 2011
Birds
This lesson is based on the book "" Birds"", by Kevin Henkes. The lesson may be found in Deep Space Sparkle Lesson Plans/Art & Literature II, which in turn may be viewed online. Janis Gillespie payed-yes, it costs money-and downloaded the unit. We reviwed the lesson and then selected a section which we thought would be useable at lower elementary.
We started by drawing a branch with leaves on a light blue paper. We outlined with black oil pastels, and painted in with tempra...... this would take one class period. Next we used scrap paper to draw 3 birds, and colored these with more oil pastels. You may spend additional time on a "how-to-draw-birds'', or you may just have the students wing it. When the birds are complete, cut out and glue onto the blue paper, carefully placing them on the branches. We did not add insects/clouds/sky, but feel free to improvise. This lesson would do well in the spring.!
Wednesday, October 12, 2011
Cubist Hands
This is a neat lesson to do with your upper elementary students that covers shades and tints, color mixing, and Art Appreciation. Students trace their hand 2 times onto a 12'' square piece of gray bogus paper, once from the bottom, and once from a side. Using a ruler, trace 3 lines from the top to the bottom, and 3 times side to side. Don't forget to slant the lines a little. Now-very important- outline everything with a black sharpie. Begin painting. EVERYTIME YOU HIT A LINE, CHANGE COLORS. You may place the same colors kater/corner. When all the painting is complete, let dry completely, re-outline with sharpies, and make the lines dark and even. They are very colorful, and you may wish to limit the paintings to certain colors of your choice.
Labels:
color,
Fifth Grade,
Fourth Grade,
Third Grade,
Tints and Shades
Monday, October 10, 2011
Fall Still Life
Friday, October 7, 2011
Face Book Books
This is an entertaining lesson, which may be used with the older elementary classes. Students will need an old paperback- (the thicker the better)-paste, and a short wooden dowel. I have a lot of short pieces of dowels around as I do wall hangings with the fifth grades in the spring, but you can buy them at Lowe's if needed. First, students will tear off the back and front cover. Decide on what shape the outside edge of the pages will take, and cut a pattern. Trace the pattern on a page, then bunch 5-8 pagrs together and cut. In my sample I used a profile of a face, but you can use any shape; apple, house, animal...any shape that is not too complex. When all pages are cut, load the dowel and the first and last page with paste. Put the dowel in the middle, press the first and last pages together, and let dry. The''book'' will stand up by it's self when dry. You can buy expensive YES! paste, if you wish, as that is what was used in the Bookmaking class.
Tuesday, September 27, 2011
City Reflections
This is a project I found on another art blog. http://laughpaintcreate.blogspot.com/2011/08/city-prints.html This was a fourth grade project that reviewed warm and cool colors. It was also fun for the children to print. We painted the background the first week and then started work on our printing plate (foam). The next week we finished our drawing of the city and printed. They really came out nice and the children had a great time doing them.
Labels:
Fourth Grade,
Printing,
reflections,
Warm and Cool
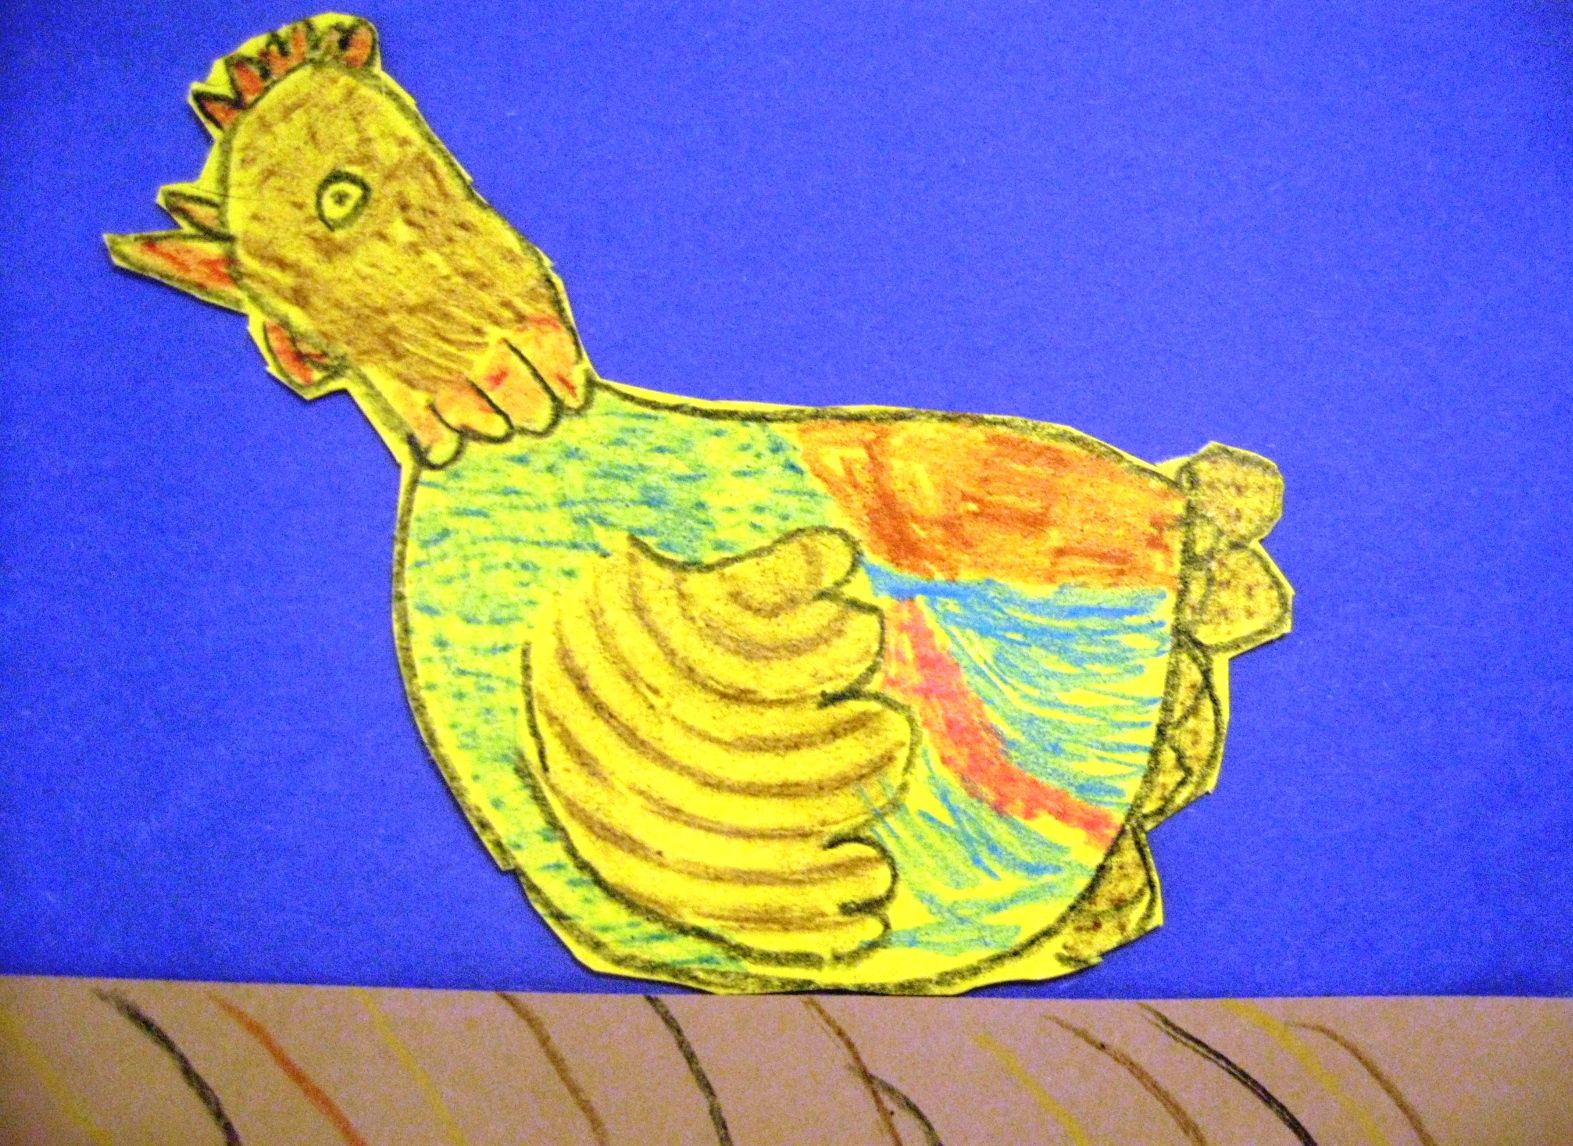
Big Fat Hen
I read the book "Big Fat Hen" to the first grade. We discussed all the beautiful illustrations of hens in the book and then drew one step by step. After talking about texture, we used texture rubbing plates when adding the color to the hens.
Monday, September 26, 2011
Illustrated Names

I use this lesson during the frst few weeks of school since it helps me to remember my students' names and get to know them. During the first class they decorate each letter of their name to tell something about themselves (the A is a piece of pizza, the d includes a soccer ball etc.). The second class involves a lesson on positive and negative space and opposite colors. Students make a cut paper design using these principles. When complete, they glue their name to the top of the cut paper design.
Subscribe to:
Posts (Atom)