
Thursday, October 20, 2011
Birds
This lesson is based on the book "" Birds"", by Kevin Henkes. The lesson may be found in Deep Space Sparkle Lesson Plans/Art & Literature II, which in turn may be viewed online. Janis Gillespie payed-yes, it costs money-and downloaded the unit. We reviwed the lesson and then selected a section which we thought would be useable at lower elementary.
 We started by drawing a branch with leaves on a light blue paper. We outlined with black oil pastels, and painted in with tempra...... this would take one class period. Next we used scrap paper to draw 3 birds, and colored these with more oil pastels. You may spend additional time on a "how-to-draw-birds'', or you may just have the students wing it. When the birds are complete, cut out and glue onto the blue paper, carefully placing them on the branches. We did not add insects/clouds/sky, but feel free to improvise. This lesson would do well in the spring.!


Wednesday, October 12, 2011
Cubist Hands

Monday, October 10, 2011
Fall Still Life

 I did this lesson with second graders. They created their piece by looking at a still life of a pumpkin and 3 gourds. There was a different arrangement of pumpkins and gourds on each table. We painted paste papers (1 orange, 1/2 green and 1/2 yellow) in one class while they were finishing up another project, then used them to cut out the shapes for our still life. They then added all the details of the pumpkins and gourds with crayons. If they had time they could color the background. They all came out really different and the paste paper added a nice texture. The kids loved painting them and combing through a design!
Friday, October 7, 2011
Face Book Books

Tuesday, September 27, 2011
City Reflections

This is a project I found on another art blog. http://laughpaintcreate.blogspot.com/2011/08/city-prints.html This was a fourth grade project that reviewed warm and cool colors. It was also fun for the children to print. We painted the background the first week and then started work on our printing plate (foam). The next week we finished our drawing of the city and printed. They really came out nice and the children had a great time doing them.
Big Fat Hen
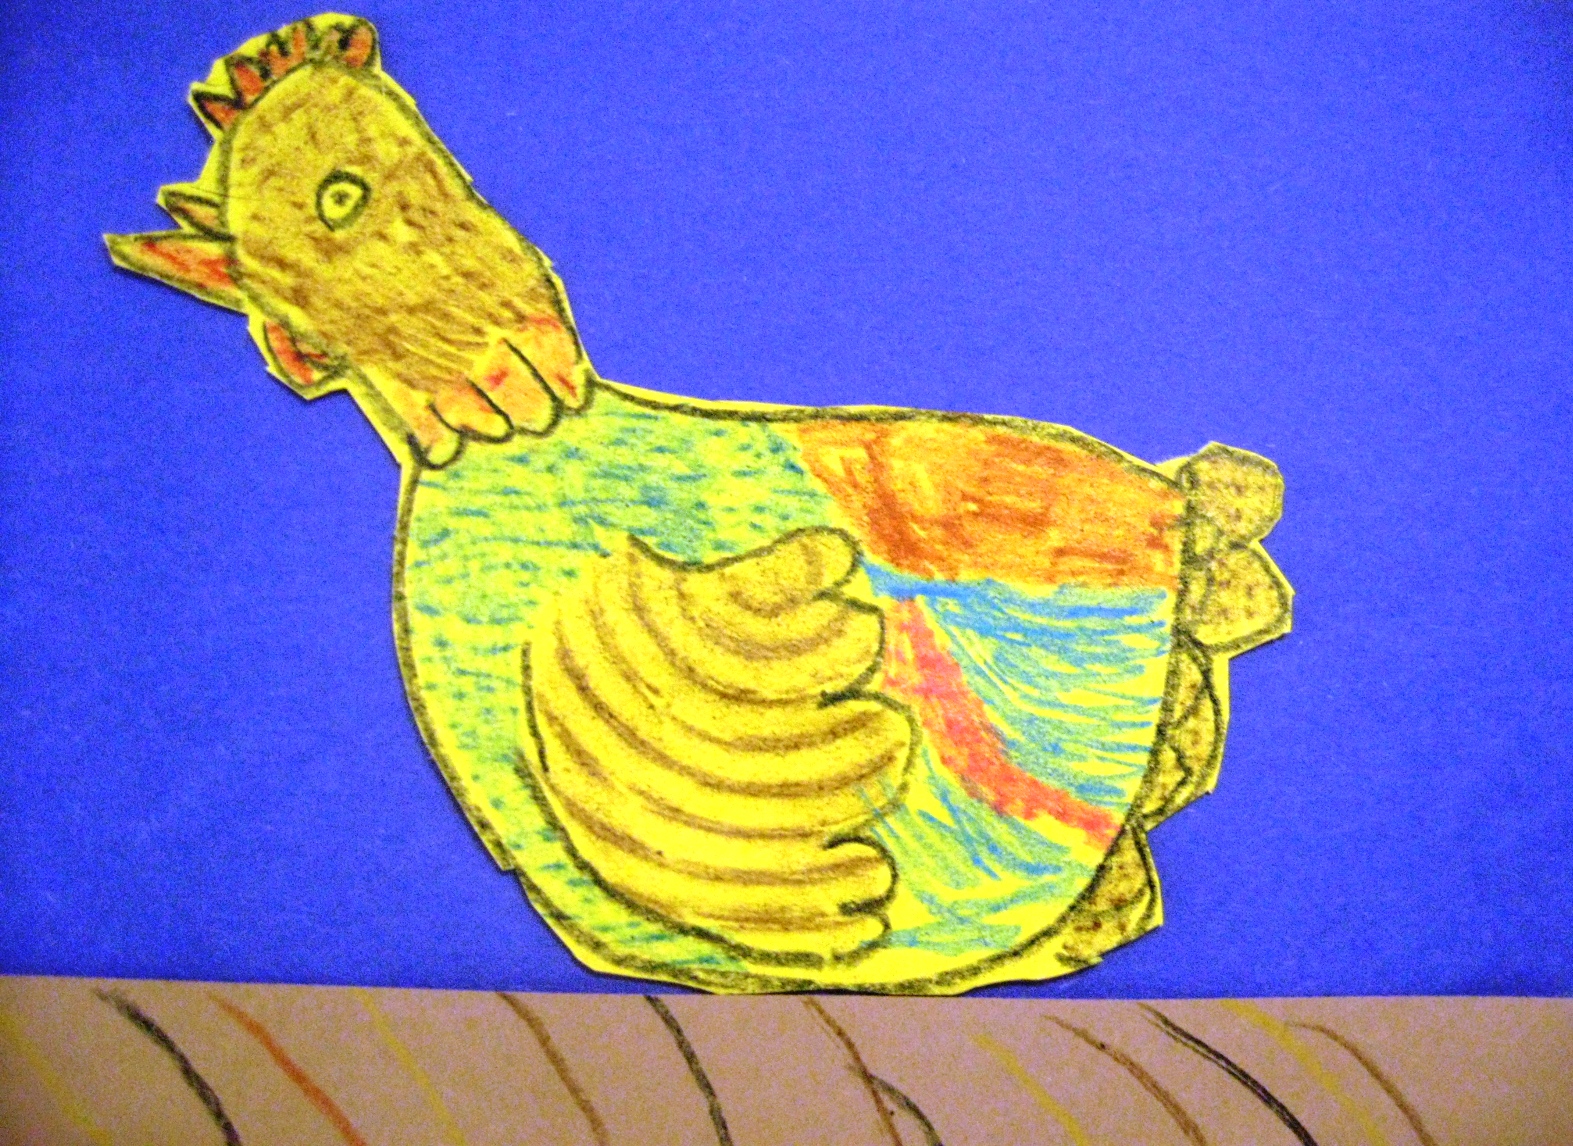
I read the book "Big Fat Hen" to the first grade. We discussed all the beautiful illustrations of hens in the book and then drew one step by step. After talking about texture, we used texture rubbing plates when adding the color to the hens.

Monday, September 26, 2011
Illustrated Names

I use this lesson during the frst few weeks of school since it helps me to remember my students' names and get to know them. During the first class they decorate each letter of their name to tell something about themselves (the A is a piece of pizza, the d includes a soccer ball etc.). The second class involves a lesson on positive and negative space and opposite colors. Students make a cut paper design using these principles. When complete, they glue their name to the top of the cut paper design.
Thursday, September 22, 2011
Uncle Sam

Uncle Sam
I had a bunch of cardboard egg cartons donated. I did this with fourth grade for a patriotic project. It is a little crafty but they turn out very cute and the students and other teachers love them!
Materials:
(4) cups from egg carton
blue and skin color tempera paint
(1) 2"x4" white construction paper
(1) l"x5" blue construction paper
(1) 2"x2" blue construction paper
(1) 3"x3" black construction paper
scraps of white yarn, paper, ribbon
scissors and glue
sharpies
Day 1
1. We talk about symbols and that Uncle Sam symbolizes the United States.
2. Each student is given 4 cardboard cups from an egg carton. Trim the edges.
3. They must glue together the egg cartons and paint the top skin color and the bottom blue. (this can be a challenge for them so it may take a whole day to just do this)
4. Have them write the name on the bottom of one egg cup with sharpie.
5. Collect in a paper box lid.
Day 2
1. Fold the 3"x3" black construction paper in half and cut a heart for the feet. Glue to the body.
2. Use the l"x5" blue construction paper strip for the arms, adding hands (cut
into blue rectangle). Glue the center of the strip to the back of the body. Write the name on the back of the blue rectangle in sharpie
3. Color or paste red strips on the 2"x4" white paper. Paste and roll into a cylinder.
4. Cut evenly spaced slits up one edge, fold back and paste to the brim, brim, fold the 2"x2" blue construction paper in half and trim off corners.
5. Use the scraps of white yarn to make hair and a beard. Glue to the head. Glueon the hat. Add other decorations with the scraps.
Sunset Silhouettes

These are great for fall. I found this on Deep Space Sparkle. I shopw 4th or 5th grade this video on positive and negative space: Positive and Negative Space.
- We talk about what creates a silhouette.
- Students wash a 9x12 inch piece of drawing paper.
- Then they trace a ruler on all 4 side of the black paper to create a frame.
- After that, they draw a landscape with pumpkins, bare trees, fences, grass, houses, etc.
- Next they cut out the negative space (or background).
- Finally they glue the black on top of the sunset colors.
Pop-Up Books
I took a graduate class last fall in bookmaking....NOT SCRAPBOOKING. While we did several versions of binding and construction, not all were applicable to elementary Art....several, however were. This is a simple pop-up that may be used 3-5 grades, providing you work slowly.
To start, you need 2 bookends, about 6''x4'', of some heavy poster board. Next cut a long strip of heavy paper for the folded pages. Pleat it accordian style to fit inside the ends. The paper should be slightly smaller than the bookends. On each outward fold , cut a small design that will ''pop''.
The inside paper that is to be folded needs to be long enough to make at least 4-5 cutouts, so you will need 8-10 pages, plus 2 more pages to glue to the bookends.
For the bookmaking class, we used special glue, but a cheaper substitute is paste...yes, the stuff none of us buy anymore.
 I and Janis Gillespie spent 2 hours wednesday, September 21 constructing one. They turned out great!
To start, you need 2 bookends, about 6''x4'', of some heavy poster board. Next cut a long strip of heavy paper for the folded pages. Pleat it accordian style to fit inside the ends. The paper should be slightly smaller than the bookends. On each outward fold , cut a small design that will ''pop''.
The inside paper that is to be folded needs to be long enough to make at least 4-5 cutouts, so you will need 8-10 pages, plus 2 more pages to glue to the bookends.
For the bookmaking class, we used special glue, but a cheaper substitute is paste...yes, the stuff none of us buy anymore.
Subscribe to:
Posts (Atom)